How to use MIMI’s Create a Look
Mimi’s Create a Look: a fun and simple way for you to add value for your customers by creating personalized, shoppable looks! Once you create a Look, you can text it to your customers and they will be able to conveniently shop the look on your PWS and checkout right from the link in your text.
Let’s get ready to Create a Look!
1. Open Mimi and go the Media page.

2. From the Media page, tap the “+” button in the right corner to find the Create a Look tool.

3. There are two ways to add products to the blank board.
- If you have a specific product in mind, simply tap on the search bar and type in the product’s name to find the product and similar products.
- Or, browse different categories of products underneath the search bar. Some of the categories have subcategories at the bottom of the page.

4. Once you find the product you’re looking for, click on the image of it. A larger image of the product will pop up giving you the options to “dismiss” or “add to Canvas.”

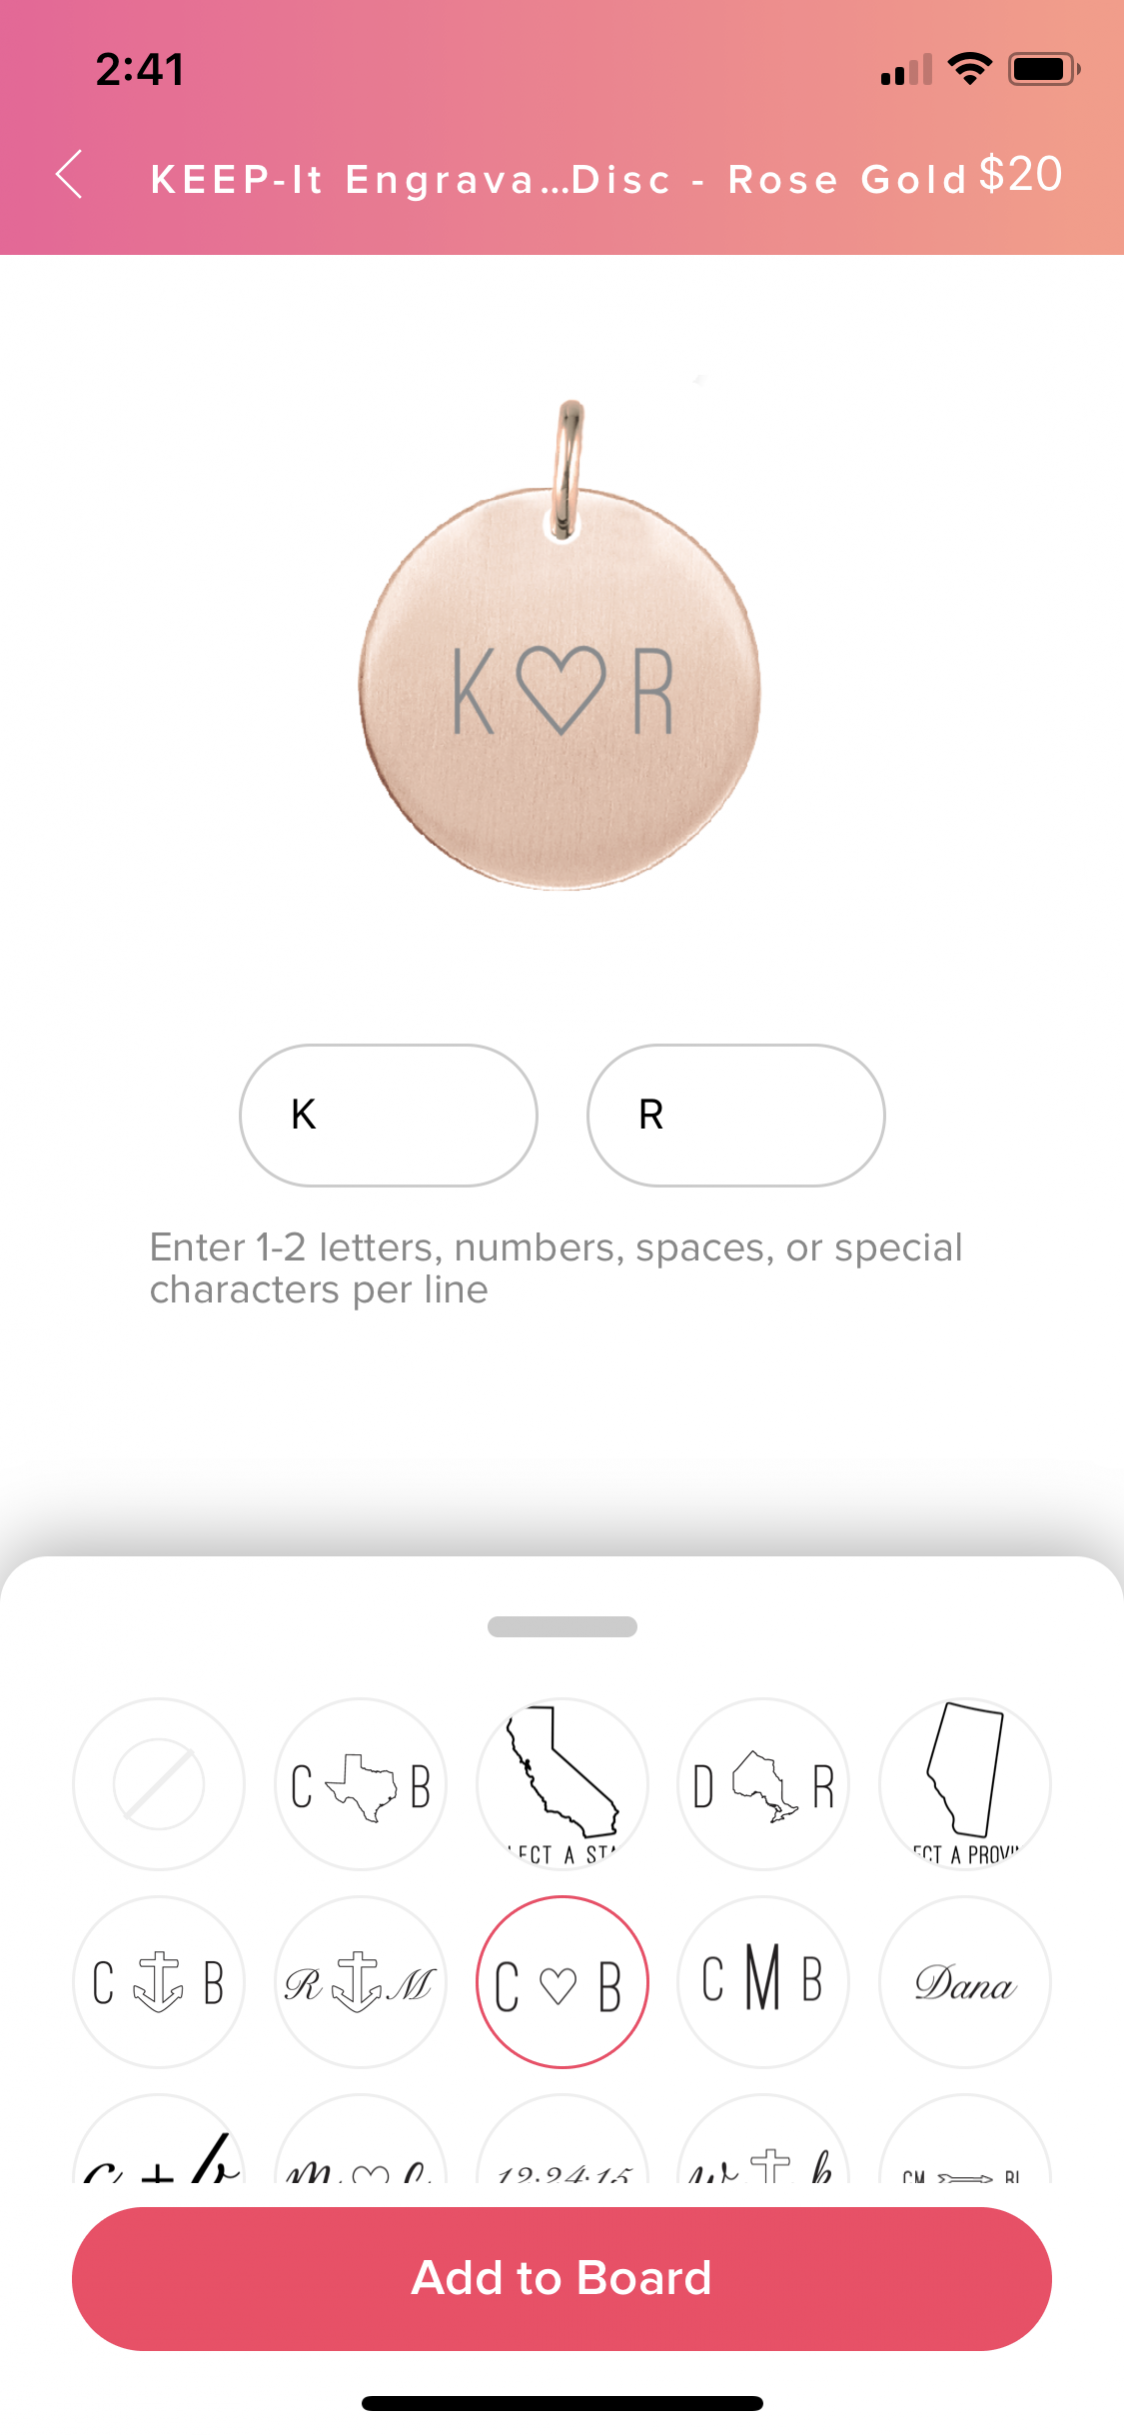
5. After clicking on a product to add to your Look, you have the option to select different sizes, alphabet letters, birthstones or reversible sides of a product that best suit your customer. If the product is an engravable, you have the option to customize the engraving.

6. Click on the “i” info icon in the top right corner to see the product details of the selected item.

7. Continue using the search bar or the product categories to add products and make the perfect Look for your customer.
- Use the rectangles left of the information icon “i” to bring products front and back.
- Change the size of the products by zooming in and out of the product with two fingers.
- You can also rotate a product and change its size by zooming in and out using two fingers.
- If you wish to revert the product back to its original size, click the half circle to the right of the trash can.

8. Once you’ve created a full look, tap on the “Save” button in the top right corner to save and share the Look. Once saved, you can edit the Look by tapping the pencil icon on the top right and adding text, stickers, overlays, and frames as you would to a typical Mimi image.

9. Tap under “Is this for a Styling?” and assign the look to one of your events if you’d like.

10. Next, click the red “Share” button at the bottom of the screen and determine how you’d like to share the Look.

11. Click “Text Message” to text the Look to your customer. Add in a personal message and click send (you can edit the default message we put in for you).


12. Your customer will receive the Look you created for them, along with a link to shop the items in the look. Once your customer clicks on the link, they will be brought to a page with all the amazing products you recommended. From there, they can edit their sizes, birth months and letters, and select only the items they like and add to their cart to checkout!


13. Once you are done sharing, you can always go back to the Media page to view your saved Looks. Under the “My Stuff” section of the Media page, click on “Your Looks.” There you will see all of the Looks you have created. If you click on one, you have the option to share, edit or delete it.